
With fantastic food photos dominating your Instagram feed, it can be tempting to snap and share every dish you eat, but you’ll quickly discover that without the proper tips and tools, it can be challenging to get that great shot with nothing more than an iPhone in your hand.
Restaurants are usually dimly-lit, leaving your snaps looking grainy, blurred, and off-colour. The truth is, most of those foodie photogs who have beautifully-curated feeds of their food, are usually using high-quality professional cameras, and time-consuming photo editing tools to tweak their photos before they post.
As a food and travel writer, I’m often expected to provide my own photos to accompany my stories, and while I’m more savvy with words than I am with getting those visual pieces, I’ve managed to get some pretty good food shots using only my iPhone 7.
Now I’m in no way an expert, and if it were up to me, I too would be using a DSLR to make my food photos look their best, but until my budget has room for that big purchase, I’m stuck with my iPhone. Because I know some of you are in the same boat, I thought I’d share some quick and easy tips to help you get better food shots.
1) Natural light is a foodie’s delight.
Nothing captures the clarity and colour of a great dish than snapping it in bright, natural light. If you’re out for breakfast or lunch and hoping to get a good shot, try to sit by a window, or you can awkwardly walk your plate over to a bright window shot to get the pic (I’ve done this before – it’s totally embarrassing, but hey, sometimes it’s my job!). This is a photo that I took while enjoying an outdoor lunch. It was used as the main image for my story in BC Living – Dig Into The Gibsons Food Scene Like A Local.
2) You won’t get the credit if you don’t edit, edit, edit!
There are some great iPhone apps that can help brighten, sharpen and saturate your photos. Sometimes, I’ll just use the editing tools that are available in the Instagram app itself (note: I don’t use the filters, I prefer to manually edit the pics, adjusting the brightness, structure, shadows, and saturation of the photo to really capture the crispness of the dish that I’m showcasing). I also use the VSCO app which has some great editing features that you can’t find in the Instagram app. I took this photo during a media trip to Maui, and it was used in my story for BC Living – Lanai In A Day.
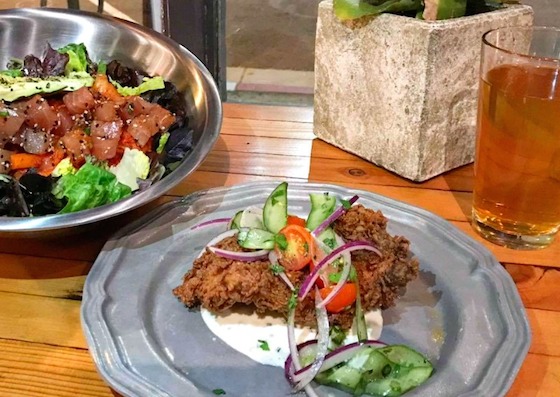
3) Light up the night.
This is another one that can sometimes feel a bit awkward, but it does help. If you’re trying to get a shot of your meal in the evening or in a dimly-lit dining spot, ask your friend to shine a light directly over your plate (angles will create some awkward shadows). I have friends who have even purchased special light designed to create the right brightness for better photography. In the photo below, I had a friend shine a light on the subject while I was taking the pic with my iPhone, and it gave a much cleaner, crisper image than if I had snapped it in the dark and tried to edit it later.

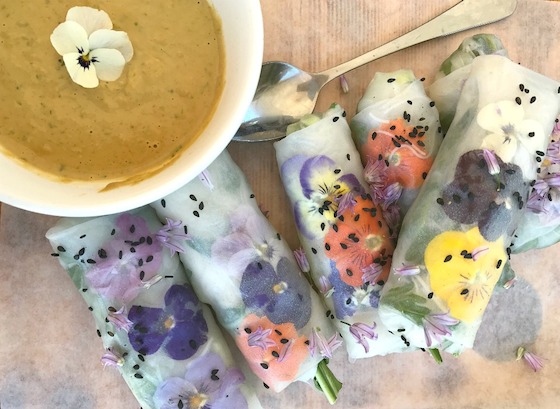
4) Capture the colours to make your food photos pop.
The most eye-catching food photography highlights the beautiful colours in the dish, or even in the background. You can give the colours in your photo an extra pop by tweaking the saturation to make the variations really stand out. This shot was also taken during my food tour of Maui, and both the restaurant and the hosting tour ending up reposting my pic on their own feeds!
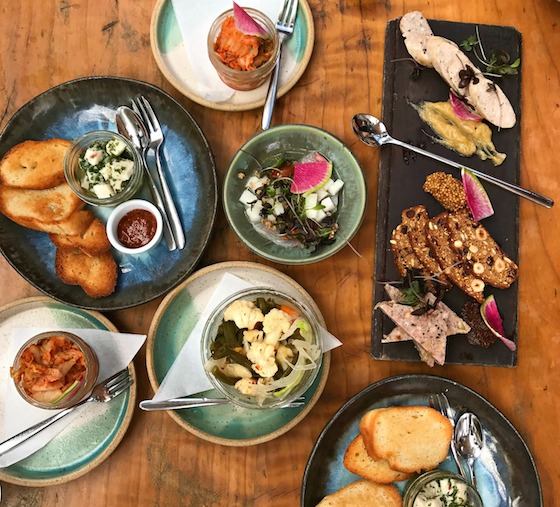
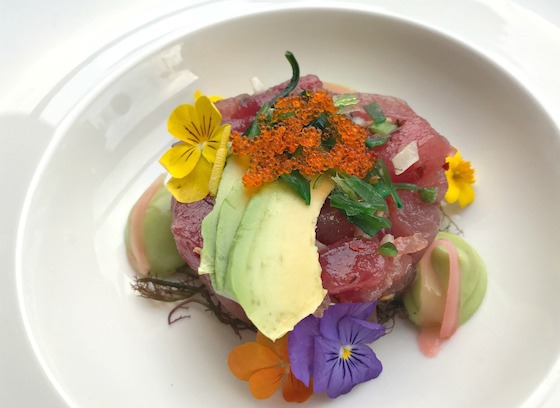
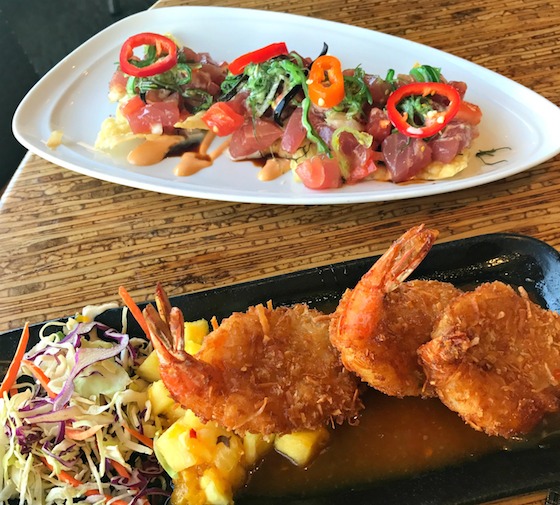
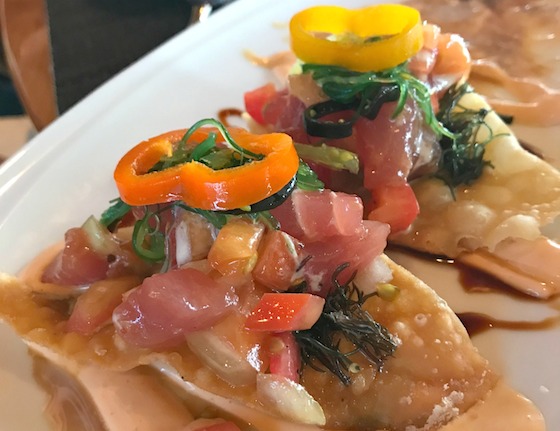
5) Get creative with the angles.
Don’t just take the same view-from-the-top-of-the-table foodie shots, try to show different perspectives. Get a closeup of the edge of the plate and show the melted cheese dripping off the side. Hold your ice cream up against a vibrant wall and snap one of those way-too-over-posted-but-ever-too-popular food in your hand shots, or get a teaser shot, showing only a quarter of the dish with a crisp white background in the rest of the frame. Mixing it up is especially effective if your Instagram feed is filled only with foodie pics. Below I’ve included two shots that I love, taken of the same dish during my culinary tour through Hawaii. By using different angles, I was able to post this (very delicious) dish more than once!
If you have more tips, I’d love to hear them! Please feel free to add to my list by commenting below, and thanks for reading!
 To Eat While You’re There")


3 Comments
Great tips!
I’m a new blogger and my photos are hit & miss! I’ll definitely try some of these practical tips!
Perfect tips.